
Tiandy · Guide
Installing and formatting a hard disk
Installation with a screwdriver, then formatting in the menu.
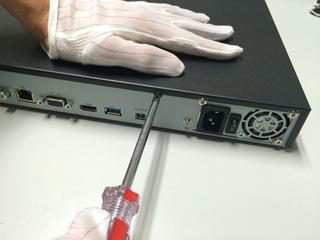
Step 1 of 6
Removing the cover
Disconnect the recorder from power. Remove the screws on the back and side of the chassis with a Phillips screwdriver, and lift off the top cover.
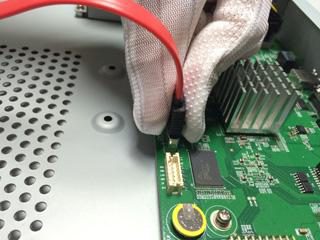
Step 2 of 6
Data cable to the mainboard
Plug one end of the data cable into the SATA connector on the recorder's mainboard.
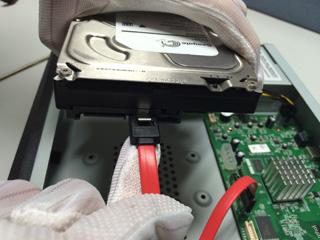
Step 3 of 6
Data cable to the hard disk
Connect the other end of the data cable to the hard disk.
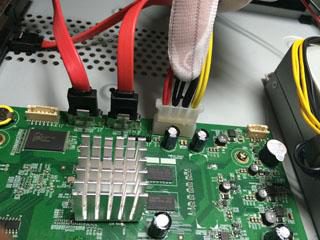
Step 4 of 6
Power cable to the hard disk
Connect one end of the power cable to the mainboard connector and the other to the hard disk.
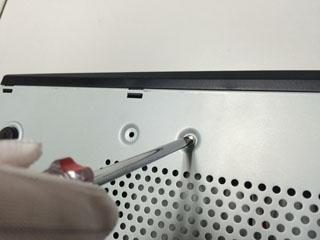
Step 5 of 6
Mounting and cover
Screw the hard disk to the bottom of the chassis, put the cover back and fix it with the screws.
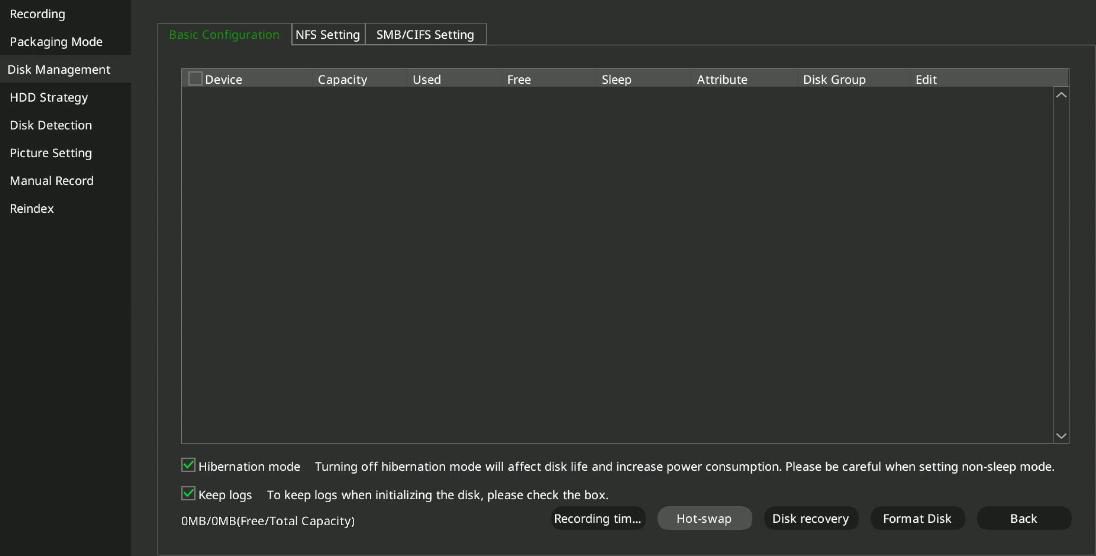
Step 6 of 6
Formatting
After switching on, open Main Menu → System Settings → Disk Management. Select the new hard disk and format it with Initialization. Without formatting, the recorder does not record.
Good to know: Tiandy recorders come without a hard disk. Choose a SATA hard disk made for surveillance systems. The chassis differs by model: the manufacturer's manual also shows a version with front drive bays.
Source: NVR user manual (local interface), sections 3.2 and 4.12.3. Screenshots from the manufacturer's manual.
Network video recorder (NVR): user manual for the local interface PDF · in English · 278 pages · 12.6 MB
More guides
Need help with the installation?
Send the exact camera and recorder models, the problem and what you have already tried. We reply by email. Do not send passwords.
On working days we reply the same day.
Write a message